How to check the thickness of the chrome coating on chrome rollers?
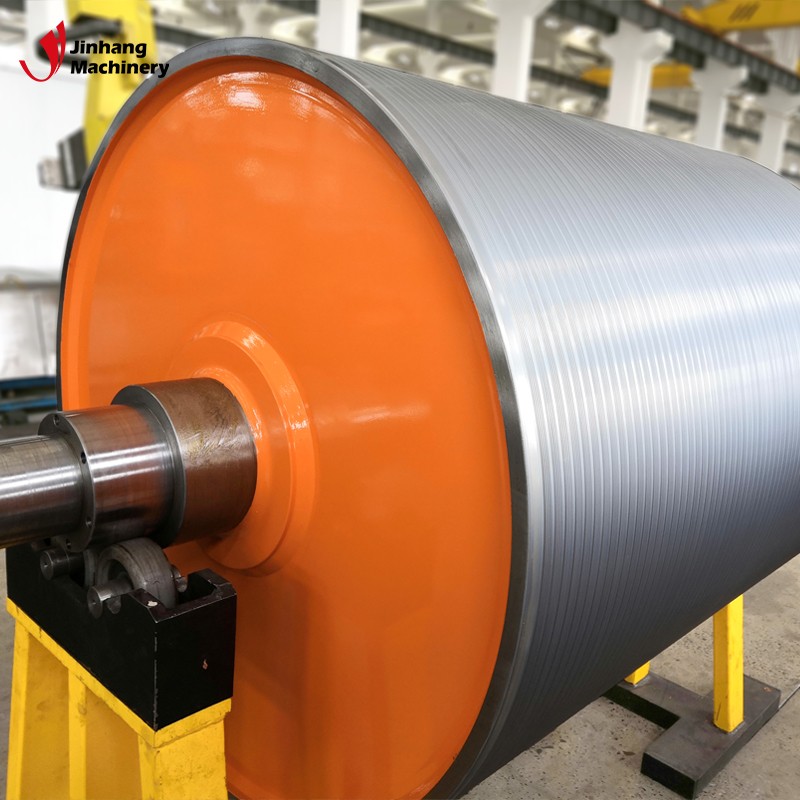
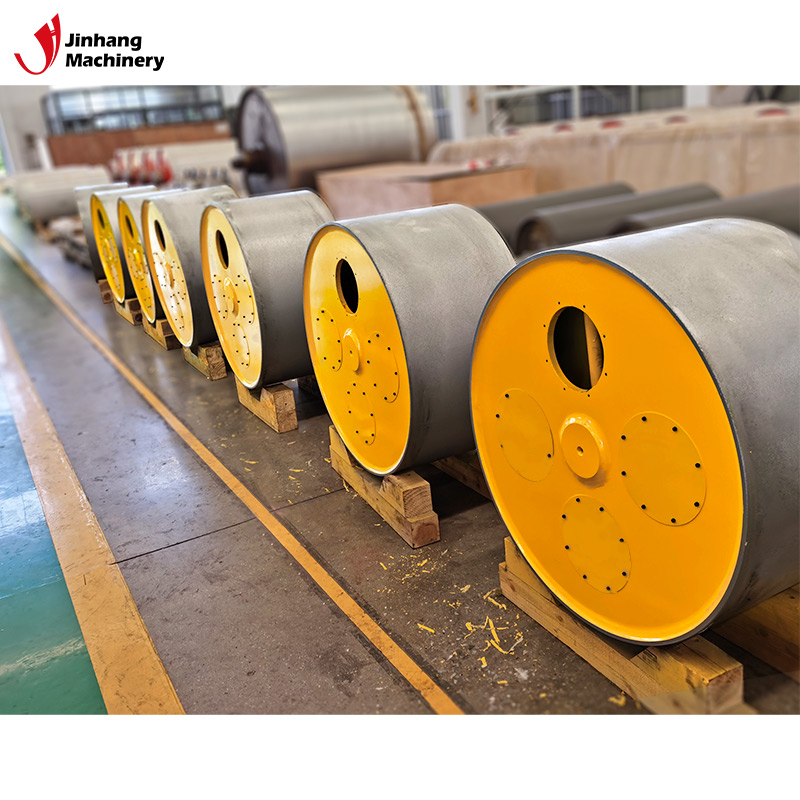
Chrome roller plays an important role in industrial production and is widely used in printing, papermaking, textile, plastic processing and other fields. The presence of the chrome plating layer not only gives the roller higher wear resistance, corrosion resistance and hardness, but also prolongs its service life and improves production efficiency. In order to ensure the stable performance of the Chrome Plated Roller in production, it is essential to regularly check the thickness of the chrome plating layer.
This article will explore in depth how to correctly check the thickness of the chrome plating layer of the Chrome Plated Roller to ensure that the roller is in the best condition during use.

What is the role of the chrome plating layer?
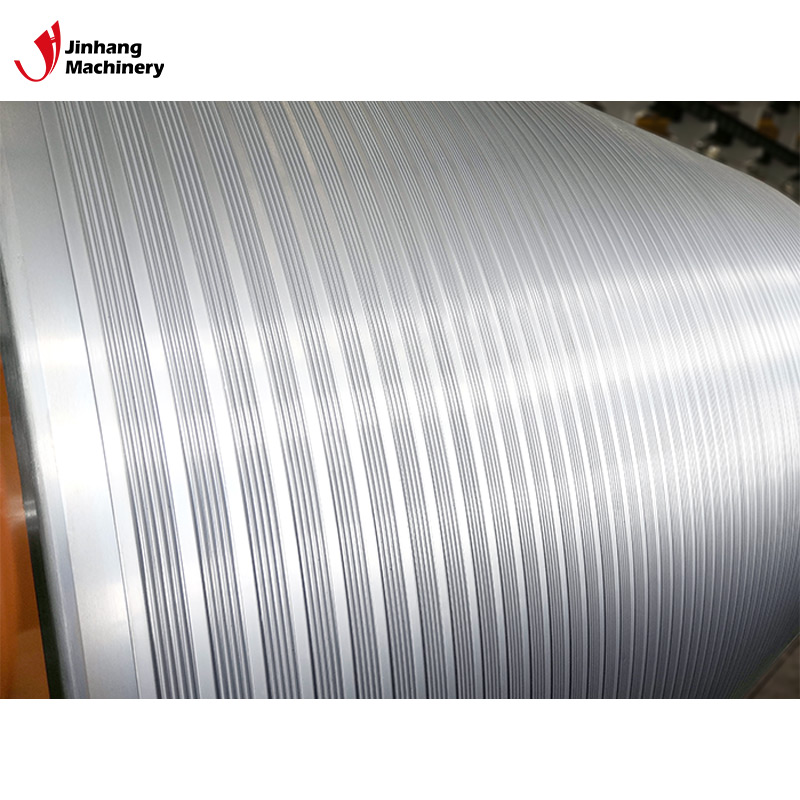
The chrome plating layer is a hard and wear-resistant coating that can effectively prevent the roller from being damaged by friction and chemical corrosion in a high-intensity working environment. The thickness of the chrome plating layer directly affects the service life and working performance of the roller. A too thin chrome plating layer may cause the roller to wear or corrode in a short time, while a too thick chrome plating layer may affect the accuracy and surface finish of the roller.
Why do you need to check the thickness of the chrome plating layer?
The inspection of chrome plating thickness is an important part of quality control, especially in industries with strict requirements on chrome plating thickness, such as precision printing and high-precision processing. Regular inspection of chrome plating thickness can timely detect the wear of chrome plating, so as to take corresponding maintenance measures to avoid quality problems caused by insufficient plating of rollers.

How to check the thickness of chrome plating on chrome roller?
There are many methods for checking the thickness of chrome plating, which can be divided into two categories: non-destructive testing and destructive testing according to different equipment and occasions. The following will introduce several common methods for detecting the thickness of chrome plating.
Non-destructive testing method
The non-destructive testing method refers to measuring the thickness of chrome plating without destroying the surface and structure of the roller. This method has the advantages of simple operation, fast and non-destructive, and is widely used in industrial production.
● Magnetic thickness measurement method:
The magnetic thickness measurement method is a commonly used chrome plating thickness detection method, which is suitable for chrome plating detection on steel substrates. Its principle is to determine the thickness of the coating by measuring the change of magnetic resistance between the coating and the substrate in the magnetic field. When using the magnetic thickness gauge, just touch the probe to the surface of the Chrome Plated Roller, and the instrument will automatically calculate and display the thickness of the chrome plated layer according to the change of the magnetic field. This method is easy to operate and does not damage the roller surface, but it is not suitable for non-magnetic substrates.
● Eddy current thickness measurement method:
Eddy current thickness measurement method is mainly used to detect the thickness of chrome plated layers on non-conductive substrates (such as aluminum, copper, etc.). Its principle is to use the eddy current effect generated by high-frequency alternating current on the metal surface, and calculate the thickness of the chrome plated layer by measuring the change of the eddy current field. Eddy current thickness measurement method is applicable to a variety of material substrates and does not damage the substrate surface. This method has high accuracy, but it is sensitive to changes in ambient temperature and material conductivity.
● Ultrasonic thickness measurement method:
Ultrasonic thickness measurement method is suitable for measuring the thickness of thicker coatings or composite coatings. Its principle is to determine the thickness by the reflection time difference of ultrasonic waves between the coating and the substrate. Ultrasonic thickness gauges usually have high measurement accuracy and are not affected by the conductivity of the material. They are suitable for measuring various materials and thicker coatings. Although this method has high equipment cost, it is a reliable choice when high-precision measurement is required.
● X-ray fluorescence thickness measurement method:
X-ray fluorescence thickness measurement method uses X-rays to irradiate the metal surface, so that the coating material excites fluorescence of a specific wavelength. The coating thickness can be calculated by analyzing the fluorescence intensity. This method is suitable for the detection of a variety of coatings and substrates, and has high measurement accuracy and repeatability. X-ray fluorescence thickness measurement method is easy to operate and has a fast measurement speed, but the equipment price is high and requires professional operation.
Destructive detection method
Although the destructive detection method requires destructive operation on the roller surface, it has high measurement accuracy and is suitable for occasions with extremely high requirements for the thickness of the chrome plating layer. The following are several common destructive detection methods.
● Cutting method:
The cutting method is a direct coating thickness detection method, which is usually used for laboratory testing. The specific operation steps are: First, cut a small section on the roller surface, use a microscope to observe the chrome plating layer of the section, and calculate the actual thickness of the chrome plating layer by measuring the thickness of the section. The advantages of this method are high measurement accuracy and the ability to intuitively observe the coating structure. However, this method will cause irreversible damage to the roller surface, so it is only suitable for small sample detection or parts that do not affect the performance.
● Grinding method:
The grinding method is to grind the chrome layer on the surface of the roller and measure the loss of the coating during the grinding process to calculate the coating thickness. The specific operation steps include: grinding the chrome layer with a grinding wheel or sandpaper, and recording the grinding thickness with a precision instrument until the substrate is ground. The grinding method has high measurement accuracy, but because it causes physical damage to the roller surface, it is only suitable for sample testing in non-production processes.
● Chemical stripping method:
The chemical stripping method is to strip the chrome layer from the substrate with a chemical agent, and then calculate the coating thickness by weighing. The specific operation steps include: immersing the roller sample in a specific chemical solution to separate the chrome layer from the substrate, and then calculating the thickness of the chrome layer by weighing the weight difference before and after the sample, combined with the surface area of the sample. The chemical stripping method has high measurement accuracy, but the operation is complicated and requires the destruction of the sample, so it is usually used for laboratory analysis.

How to choose a suitable detection method?
When choosing a chrome layer thickness detection method, the following factors need to be considered comprehensively:
Measurement accuracy requirements
For different applications, the accuracy requirements for chrome layer thickness are different. For example, in the field of high-precision printing and electronic manufacturing, very accurate chrome plating thickness is usually required. At this time, a detection method with high measurement accuracy, such as X-ray fluorescence thickness measurement or ultrasonic thickness measurement, should be selected. In general industrial applications, magnetic thickness measurement or eddy current thickness measurement is usually sufficient to meet the needs.
Substrate and coating materials
The physical and chemical properties of substrates and coating materials directly affect the selection of detection methods. For example, magnetic thickness measurement is not applicable to chrome plating on non-magnetic substrates. At this time, eddy current thickness measurement or X-ray fluorescence thickness measurement should be selected. For rollers working in high temperature and high pressure environments, the heat resistance and conductivity of the substrate may affect the detection results, so special attention should be paid when selecting the detection method.
Roller working environment
The working environment of the roller also has an important impact on the selection of the detection method. For example, in high temperature, high humidity or corrosive environments, the measurement results of eddy current thickness measurement and ultrasonic thickness measurement may be disturbed. At this time, a more stable and reliable method, such as X-ray fluorescence thickness measurement, should be selected. In addition, when performing real-time inspections on the production line, non-destructive inspection methods such as magnetic thickness measurement have greater advantages because they do not damage the roller surface and can obtain results quickly.
Availability and cost of inspection equipment
The cost and availability of inspection equipment are also important considerations when choosing an inspection method. Non-destructive inspection equipment is usually more expensive, such as X-ray fluorescence thickness gauges and ultrasonic thickness gauges, but their ease of operation and measurement accuracy often make up for their high cost. Destructive inspection methods, although simple equipment, are usually only used in laboratories or small sample inspections due to their complex operation and damage to samples.

What are the operating steps and precautions for chrome plating thickness inspection?
Before conducting chrome plating thickness inspection, ensure that the roller surface is clean and free of impurities, as surface stains may affect the measurement results. For destructive inspection methods, non-critical parts of the roller surface should be selected for testing to avoid affecting the performance of the roller. Secondly, before taking measurements, the inspection equipment should be calibrated to ensure the accuracy of the measurement. For non-destructive testing methods, it is usually necessary to calibrate with standard samples to adjust the instrument parameters to adapt them to the specific material and coating thickness of the roller to be tested.
In addition, when measuring, the equipment's operating instructions should be followed to ensure that the probe or sensor is in close contact with the roller surface to avoid measurement errors caused by poor contact. For destructive testing methods, the operation should be cautious to avoid excessive damage to the roller surface. Finally, after the measurement is completed, the measurement data should be recorded in a timely manner and analyzed according to specific needs. For multi-point measurement, the thickness of all measurement points should be averaged to obtain a more accurate value of the chrome plating thickness.
